My dev setup 2022
As a developer, I am continually trying to make my work easier and more automated. This includes both software and hardware, but also the peripherals. To achieve this, I am always on the lookout for tools or tricks to incorporate into my workflow. Every developer has his or her own workflow and you can always pick up something from each other. So, in this blog, I will share the apps, tools, tips, and tricks I am using in my daily (Mac) workflow that boost my productivity.
Hopefully you will learn something new and if you will incorporate something in your daily workflow, let me know!
Hardware and peripherals
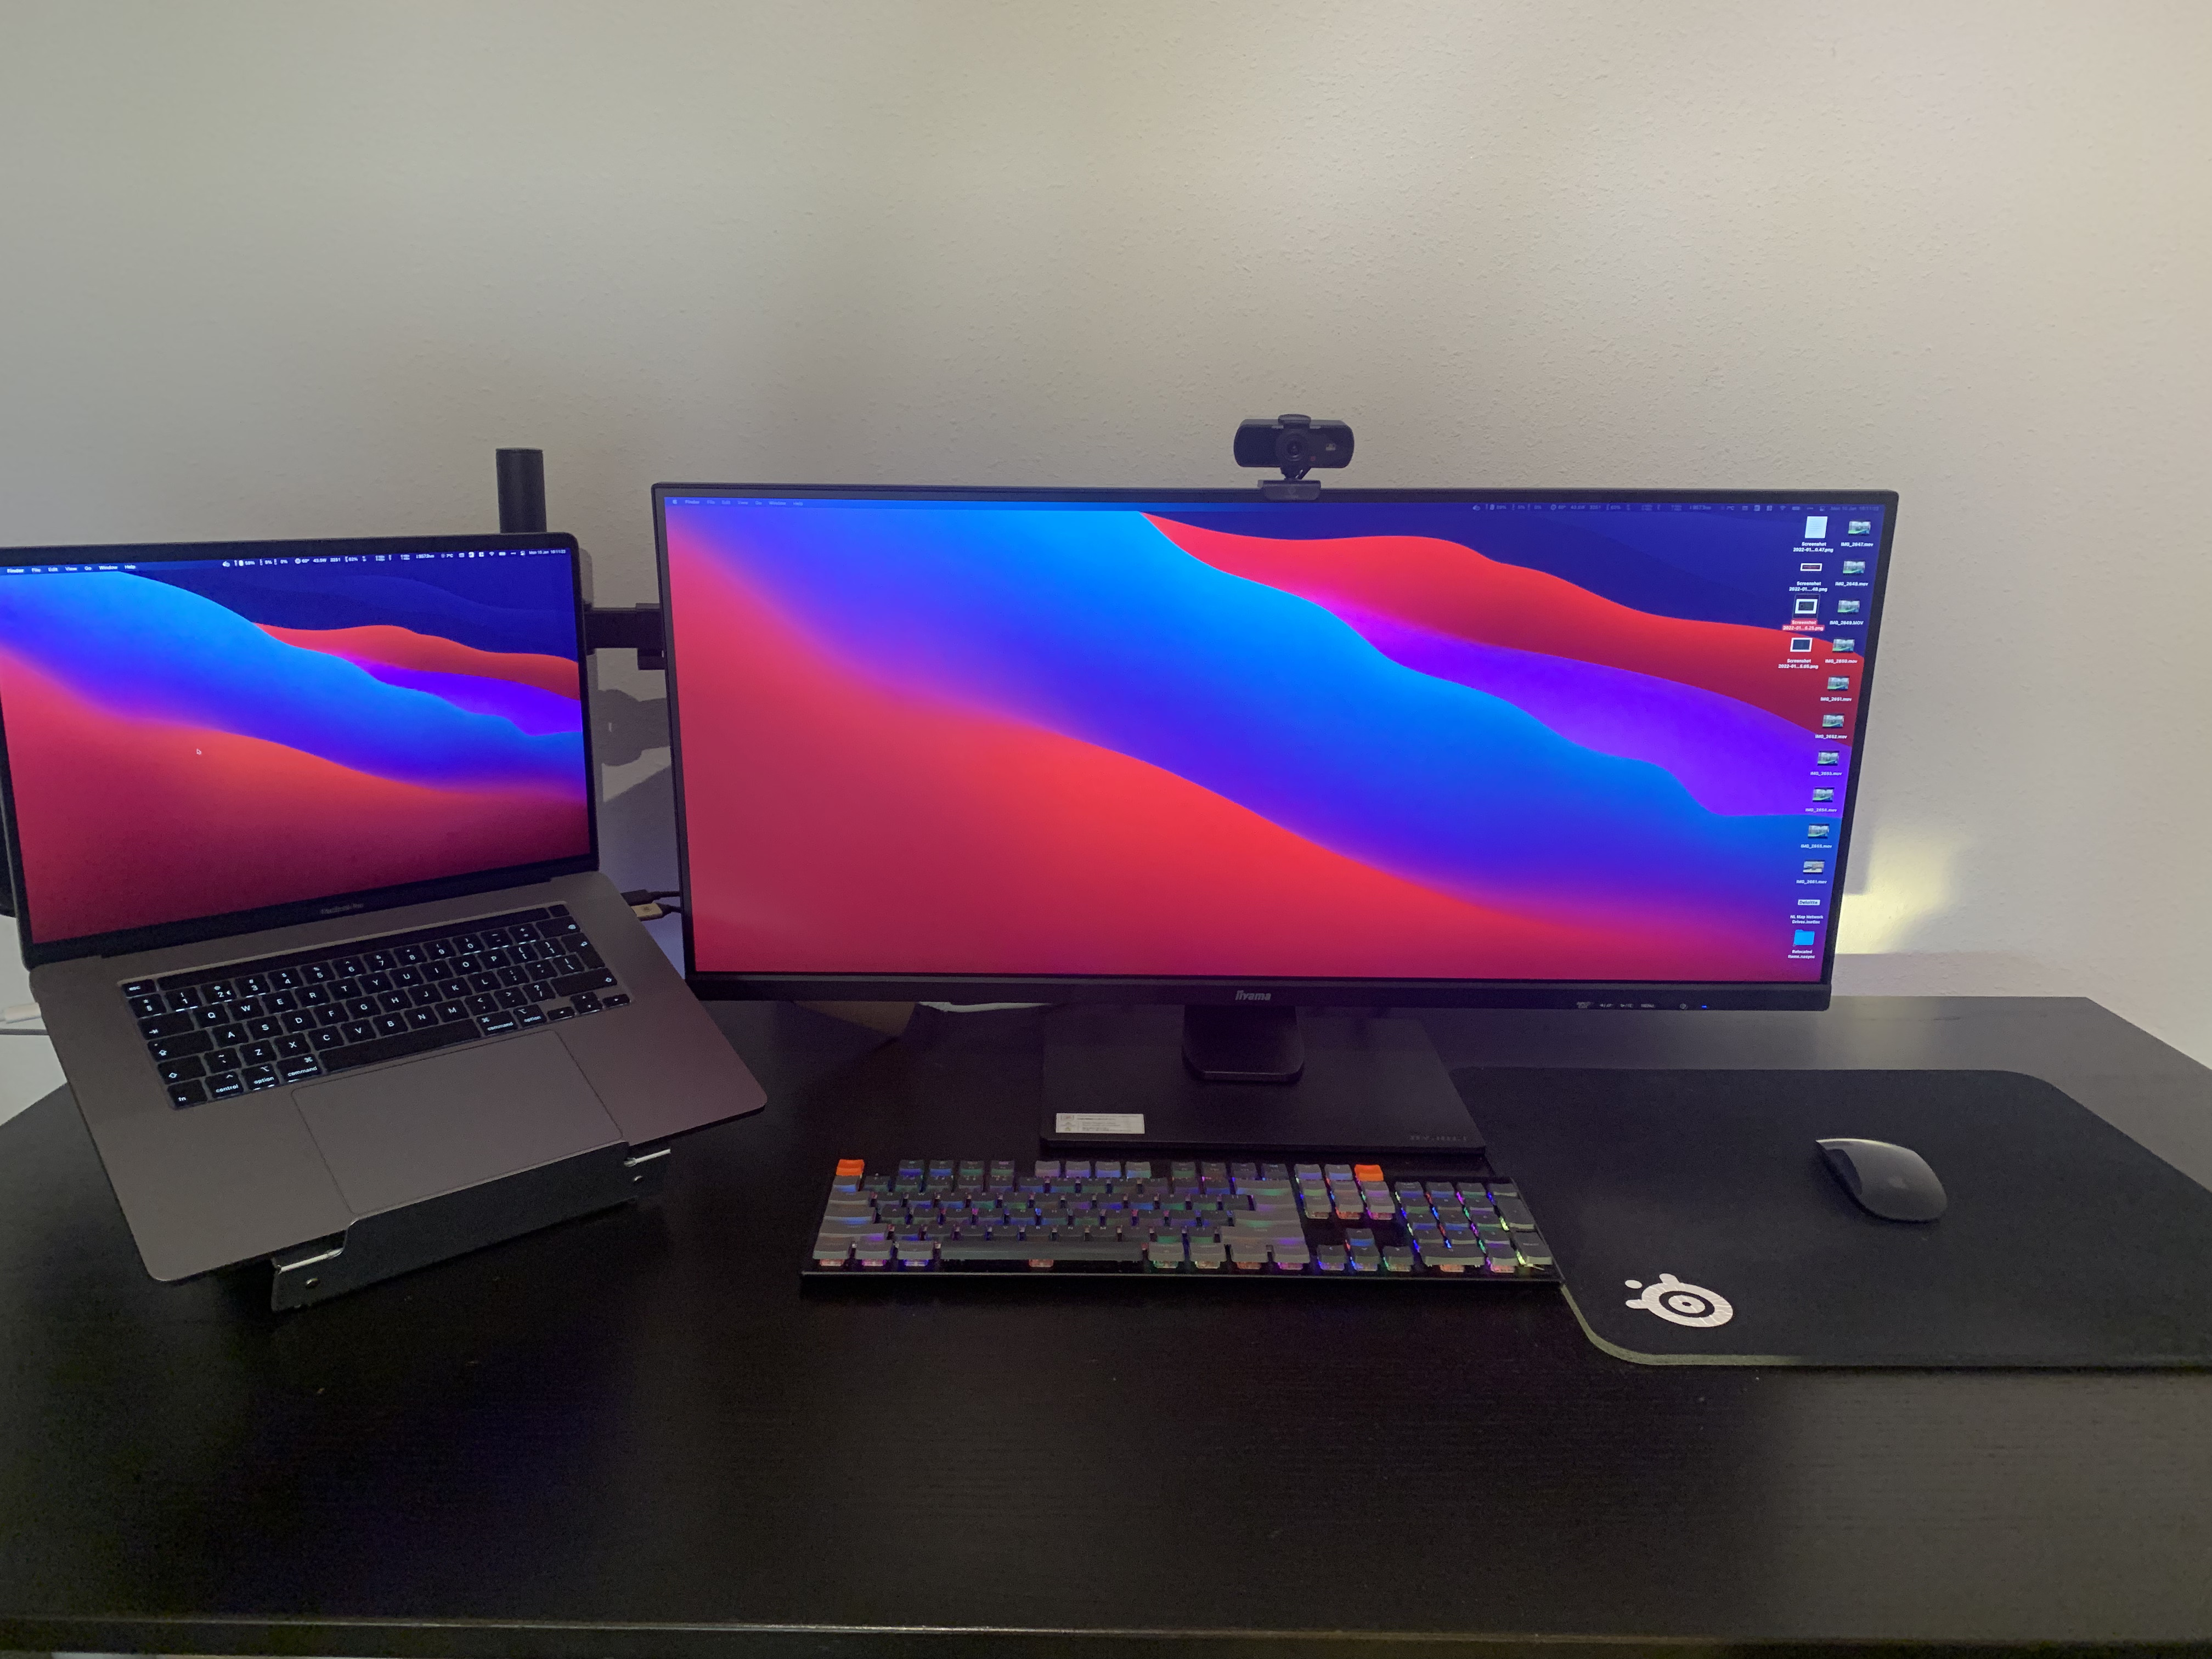
Without hardware there is no software, so let's start with the hardware and peripherals that are on my desk.
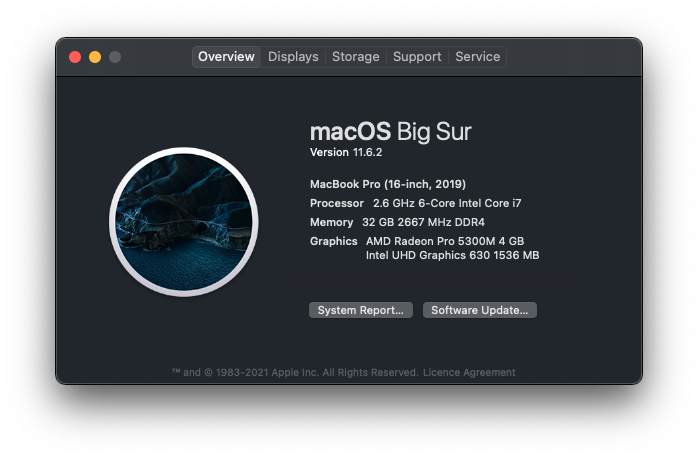
I'm using a 2019 MacBook Pro 16" (can't wait for a M1 MacBook) with 32 GB of RAM and a 500 GB hard disk.
I am using the following peripherals:
- an iiyama G-Master Red Eagle GB3461WQSU-B1 ultrawide monitor. I highly recommend an ultrawide monitor because it gives you the additional screen estate. It greatly improves your multitasking and gives you the option of running multiple apps next to each other. For example having the documentation and your editor open without getting in the way of each other.
- a Keychron K1 wireless mechanical keyboard for typing letters, numbers and symbols
- an Apple Magic Mouse 2 Space Grey for moving the cursor around my monitor
- a SteelSeries QcK Heavy Gaming mousepad for moving the mouse
- Apple AirPods Pro for online meetings
Combining everything of the above results into the following real-life setup:
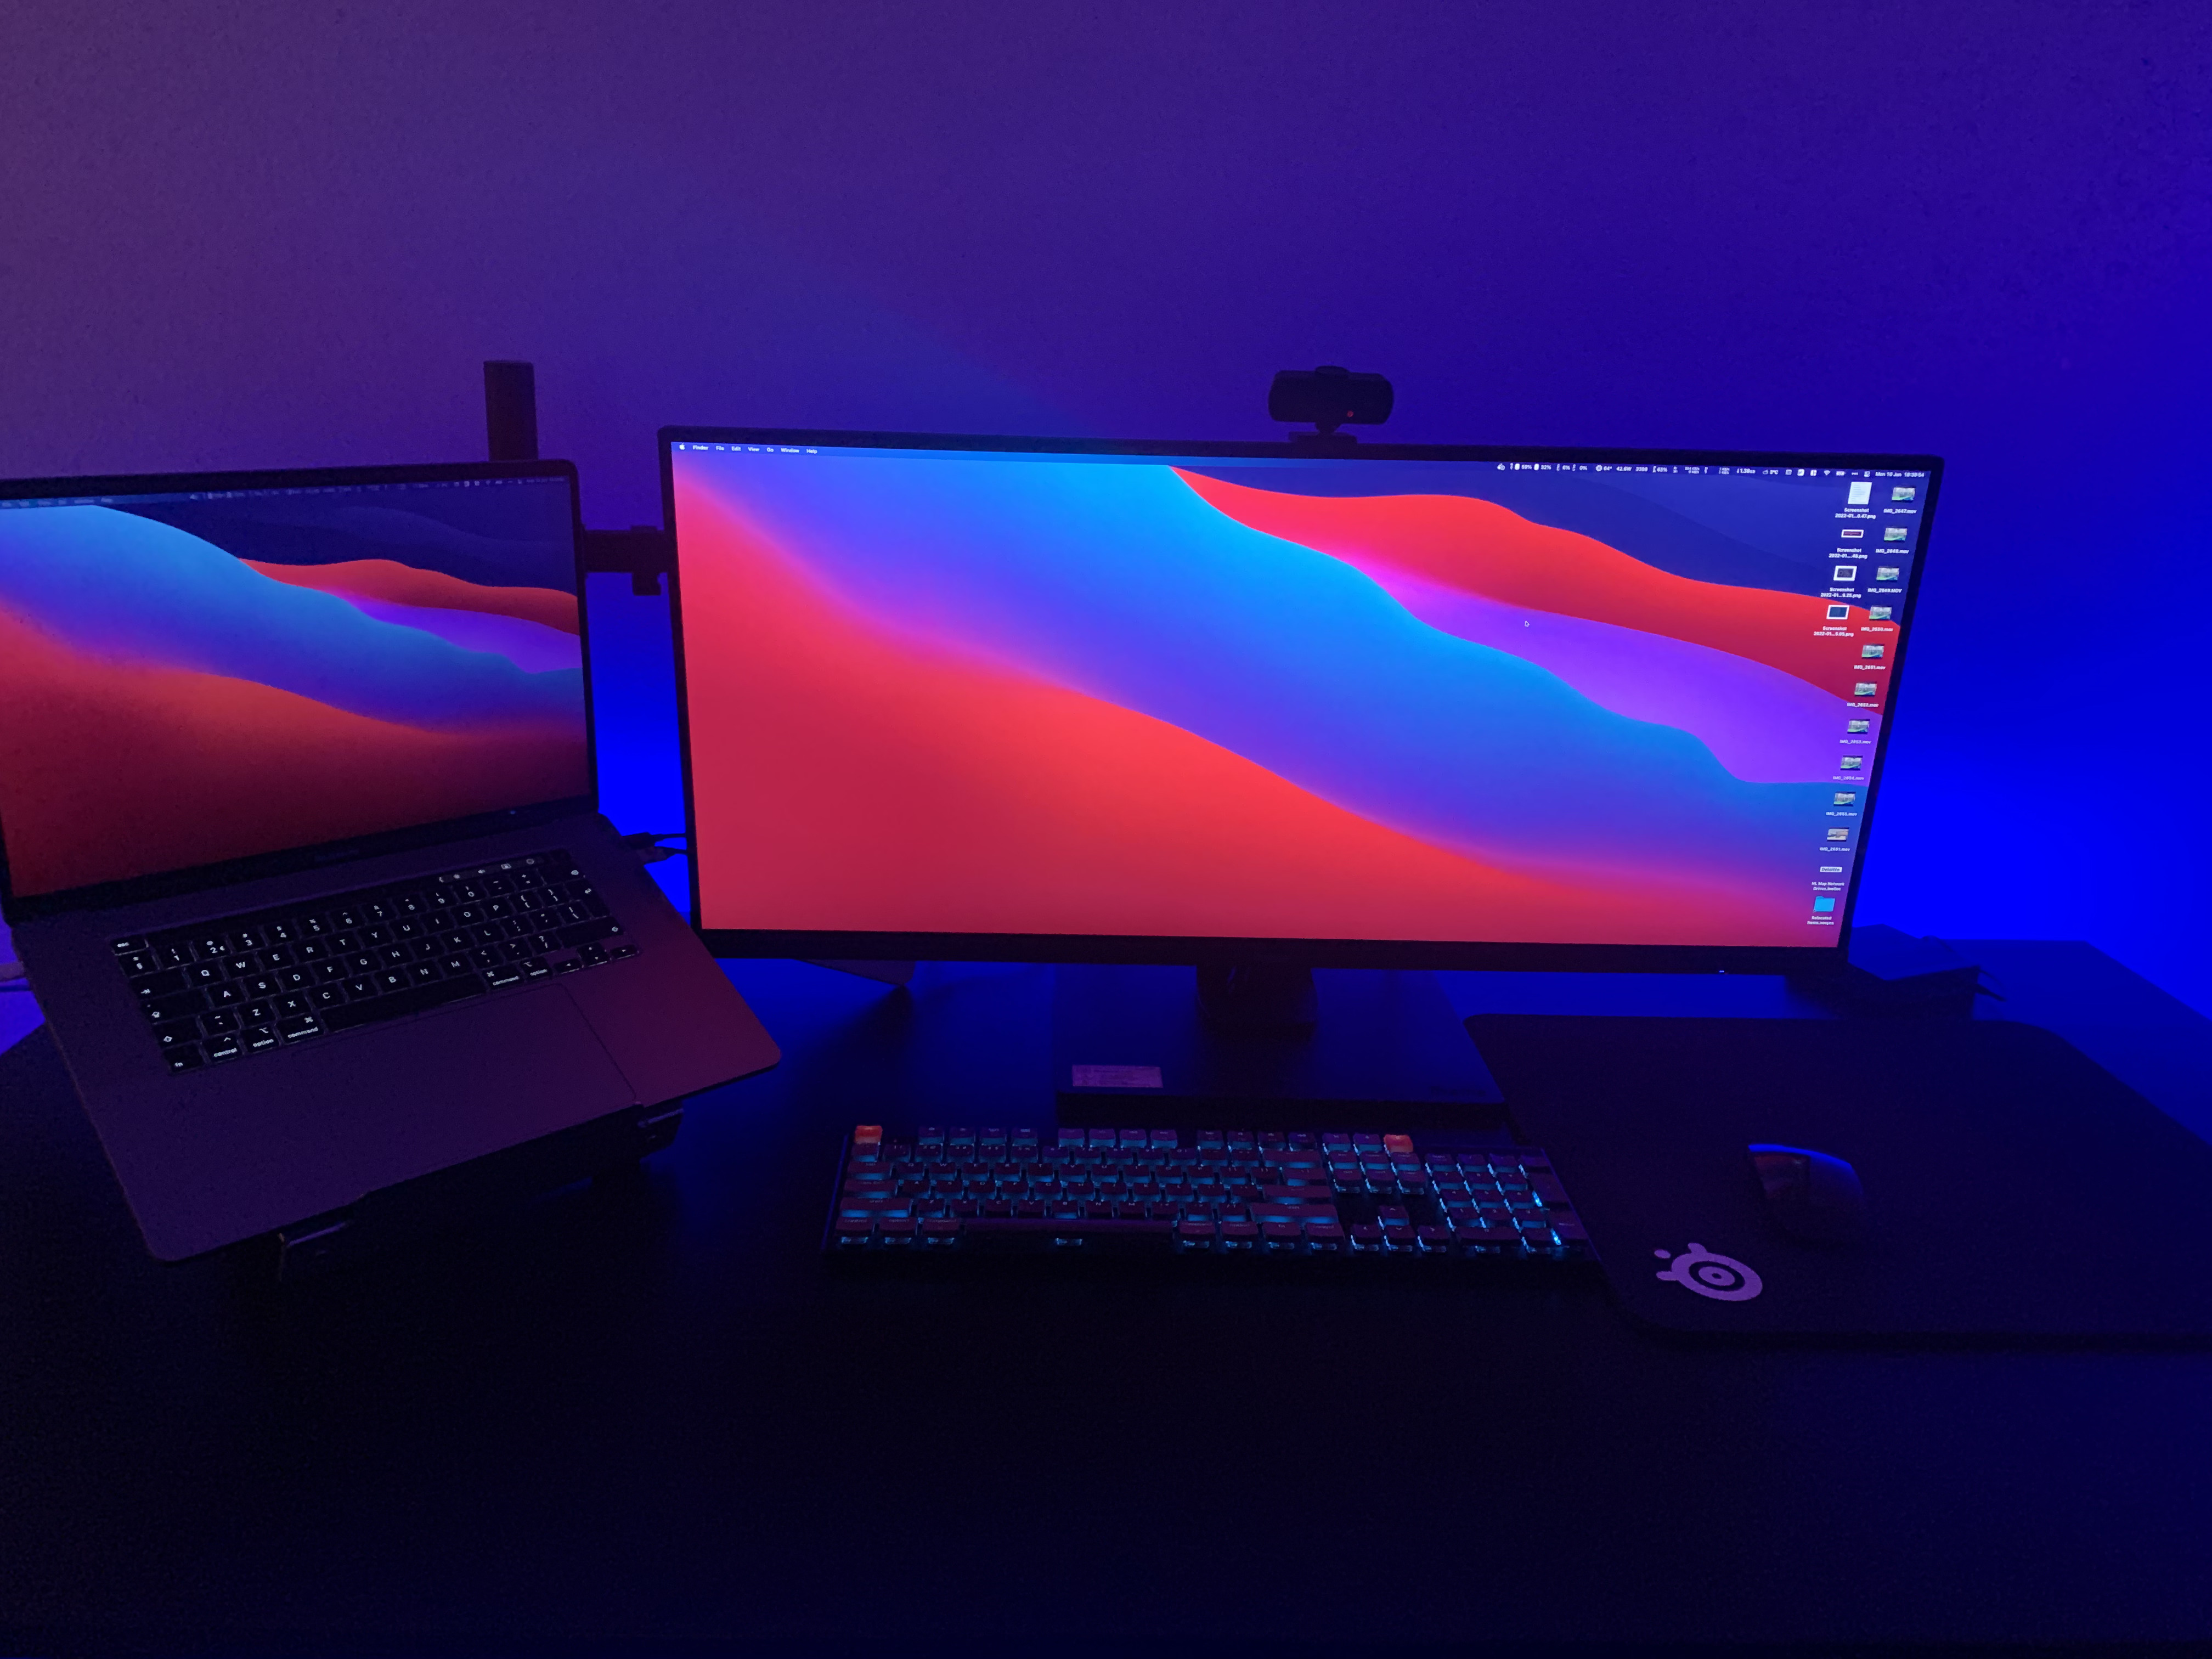
And at night:
Apps and software
Now that we got the hardware out of the way, let's focus on the apps and tools I'm using daily.
Apps
I am using…
- Google Chrome for browsing the web
- TablePlus for managing databases
- Todoist for keeping track of my todos
- VS Code, IntelliJ and PyCharm for coding
- Postman for testing my APIs
- Bartender 4 for arranging the icons in the menubar
- Magnet for organizing my open windows
- Paste for better managing my copying and pasting
- Spotify for background music while coding
- Time Out to make sure I take a break occasionally
- Bitwarden to manage all my passwords. (Please use a password manager)
- Ulysses to write my blogs in Markdown format
Terminal
In my opinion, the terminal is a developer's best friend. In my early days as a developer I was a bit afraid of the terminal and I really didn't try to learn it. When I started to get more experience as a Software Engineer I started to embrace the terminal and if you make the terminal your own it will improve your workflow significantly in my opinion. In the remaining part of this post, I will show how my terminals looks like and how I have set it up.
This is how my terminal currently looks like:
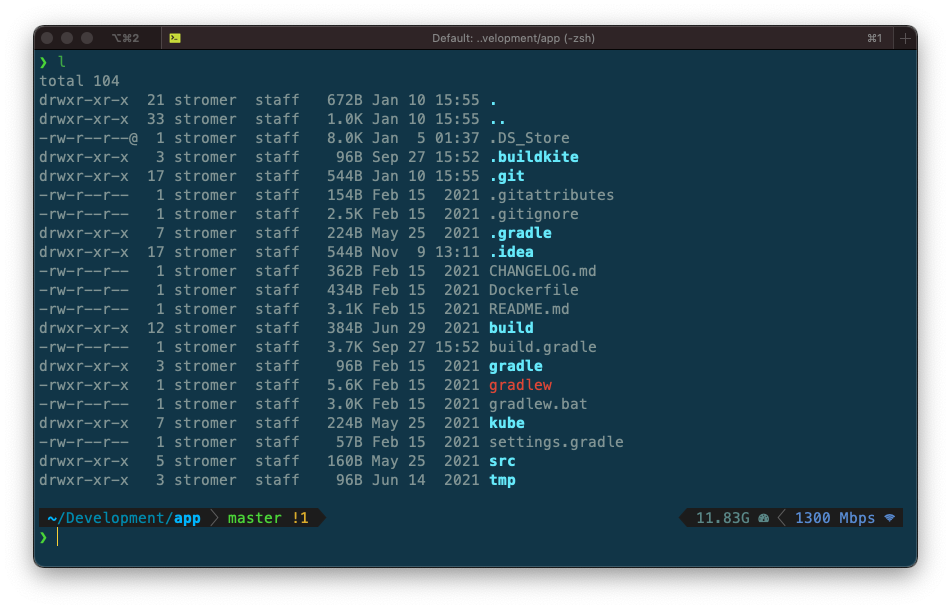
My terminal of choice is iTerm2. The color scheme used is a modified version of Solarized Dark and the used font is MesloLGS NF. I am using Zsh as the shell with Oh My Zsh and Powerlevel10k. If you are not familiar with Oh My Zsh, it allows you to fully customize your zsh configuration with plugins and themes exactly to your liking. See below for the plugins I'm using. For example, you can get auto-complete in your terminal or support for your favorite cli tool. You can think of kubectl or aws, but there are other plugins for many use cases. In my opinion, it is a must-have for every developer. Powerlevel10k adds even more customizability options, such as showing your RAM or CPU usage in your terminal prompt (which you can see in the bottom right in the image above). It is more for, as the name suggests, power users.
IDE
Like I mentioned, I'm mostly using JetBrains products for programming. Here is how it looks:
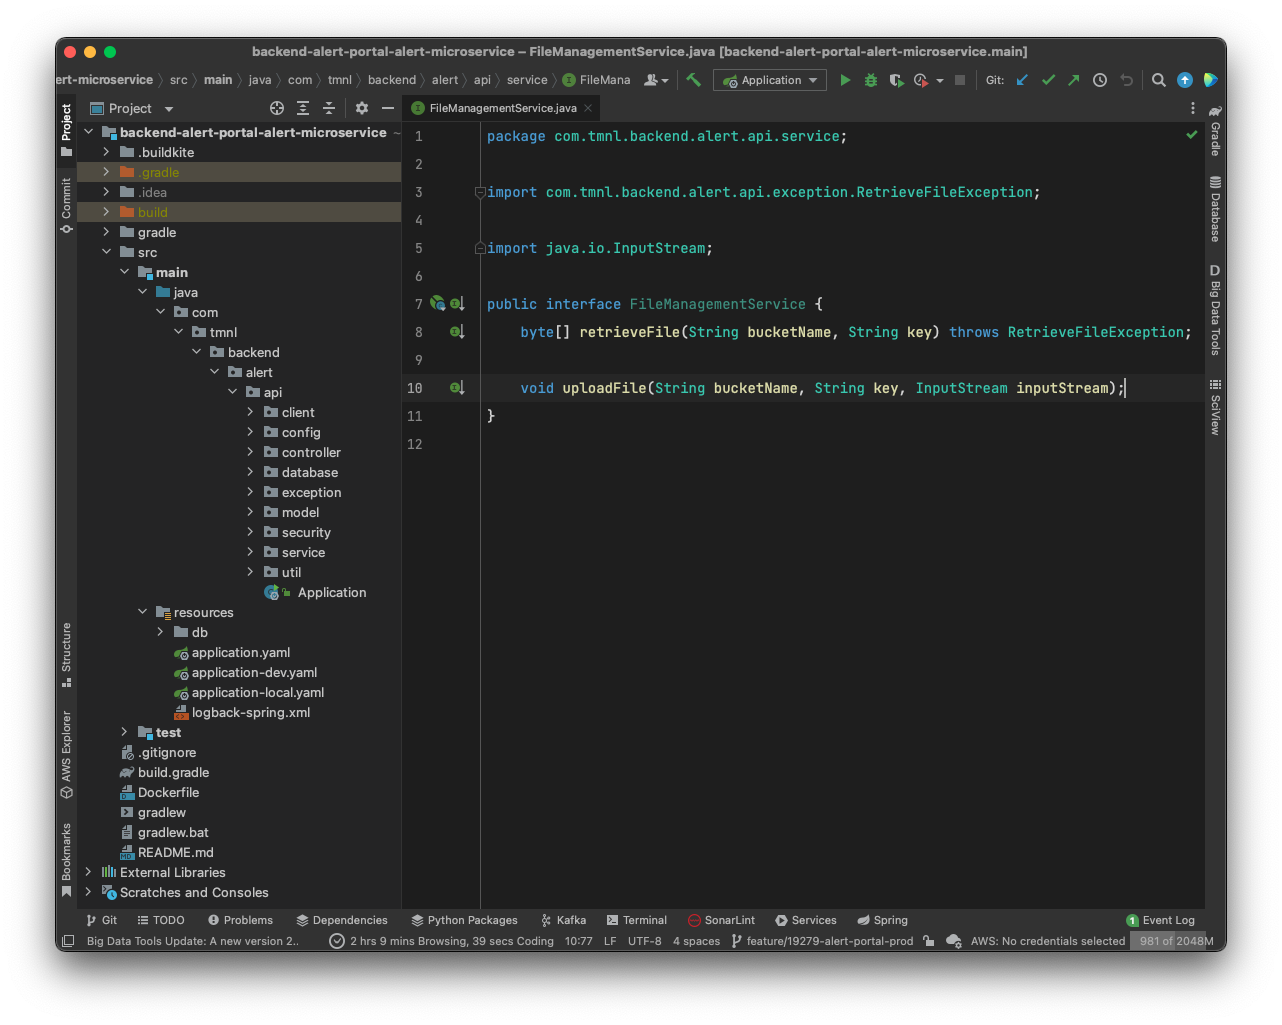
I'm using a dark theme called Visual Studio Code Dark Plus Theme since I really like the Visual Studio look. The font I'm using is JetBrains Mono font which provides a nice reading experience in my opinion. It supports font ligatures as well. Big fan of font ligatures! I'm using 14 and 1.4 for the font size and line height respectively.
Terminal tips and tricks
Homebrew
I use Homebrew to install most software on my Mac. I think many people know Homebrew already, but it is definitely worth highlighting. In case you're not familiar with Homebrew. It is a package manager for Mac (and Linux) that greatly simplifies installing software. Want to install node, just use:
$ brew install nodeYou can even install full apps like Chrome or Firefox (without the need for Safari):
$ brew install --cask google-chrome
$ brew install --cask firefox
Brew can be easily installed using the following command:
$ /bin/bash -c "$(curl -fsSL https://raw.githubusercontent.com/Homebrew/install/HEAD/install.sh)"Aliases
To make my life easier when I'm working with commands I often use, I created several aliases. You can add these aliases to your .zshrc file. For example kubectl or terraform:
alias k="kubectl"
alias tf="terraform"
If I am using a flag regularly, I will create an alias for the command with the flag as well. For kubectl I have created several aliases that specify namespaces which save me quite a bit of typing by not constantly having to specify the namespace in my command:
alias ka="kubectl -n application"
alias kap="kubectl -n application-ap"
It may seem like a small thing, but it really boosts your productivity. This example is of course only for kubectl and terraform, but there are many other scenarios where aliases are helpful.
I'm using the following generally applicable aliases:
cd to dev location
alias dev="cd ~/Development"
alias project="cd ~/Development/project"
Improved git log
alias glog="git log --graph --pretty=format:'%Cred%h%Creset -%C(yellow)%d%Creset %s %Cgreen(%cr) %C(bold blue)<%an>%Creset' --abbrev-commit"Editing hostfile
alias hostfile="sudo nano /etc/hosts"External IP
alias ip="curl https://diagnostic.opendns.com/myip ; echo"Local IP
alias localip="ifconfig -a | grep -o 'inet6\? \(addr:\)\?\s\?\(\(\([0-9]\+\.\)\{3\}[0-9]\+\)\|[a-fA-F0-9:]\+\)' | awk '{ sub(/inet6? (addr:)? ?/, \"\"); print }'"Switch between AWS profiles
alias aws1="aws --profile AdministratorAccess-abc"
alias aws2="aws --profile AdministratorAccess-xyz"
Oh My Zsh plugins
To take aliases to the next level, you can use Oh My Zsh plugins. Their functionalities include additional aliases, autocomplete for cli tools or even syntax highlighting. Plugins can be easily added by adding the plugin to the plugins array in your .zshrc file. To learn more about plugins and see the full list of plugins, visit the Oh My Zsh plugins page.
I'm using the following plugins:
- aws
- git
- history
- gitignore
- dotenv
- gradle
- composer
- laravel
- docker
- docker-composr
- colored-man-pages
- colorize
- pip
- python
- brew
- macos
- rust
- zsh-syntax-highlighting
- zsh-autosuggestions
Tricks
Finally, I wanted to share some terminal tricks you might not be aware of. Let me know if you have more cool terminal tricks!
Run your last command again
Using !! you can retrieve your last ran command (without executing it) in your prompt. This is often used for if you have forgotten to use sudo for a command. Using the following syntax, you can execute your last command, but now as sudo:
$ sudo !!Use Touch ID for sudo commands
It is actually possible to use Touch ID for sudo commands. Instead of typing your password, you can use your finger or even your Apple Watch to authorize a command. See here how to set it up.
Extend sudo timeout
Developers use sudo often and it is always annoying when we need to retype our password frequently. After five minutes of sudo inactivity, you will need to retype your password. It is, however, possible to extend this default five minutes timeout. To change the timeout run sudo visudo and add the following line:
Defaults timestamp_timeout=xwhere x is the amount of minutes. You can also use -1 to set an infinite timeout. To always require a password you can use 0.
Note: Be careful not to make any other changes as this can possibly no longer allow you to use sudo. The visudo command will however validate your changes before it applies your changes.
History of commands you entered
Most people know that using the up key, you can sequentially retrieve the commands you entered in the past. This is obviously a tedious process if you're looking for commands you entered a while ago. There are two options to see the full history of the commands you ran.
The first option is to use the history command. The history command will output all your previous commands. The value of the $HISTSIZE variable determines the number of commands saved. In case you're looking for a specific command, you can pipe the output to grep and search for the command you're looking for:
$ history | grep "search-term"The history plugin provides a couple of aliases to make using history more convenient.
The other option is to search your history interactively. Meaning, you can directly execute the command. You can use ctrl+R in the terminal to open the interactive search and insert your search term. To scroll through the results you can use ctrl+R again. If you found the command you're looking for, press enter and the command will run.
Prevent Mac from sleeping
In case you're running an extended work load and you will not be behind your Mac for a while you can use the caffeinate command to prevent your Mac from sleeping. This command will keep your Mac awake until it is stopped using ctrl+C. You can also specify for how long you want to prevent the Mac from sleeping:
$ caffeinate -u -t xwhere x is the number of seconds.
Easter eggs
Say
You can make your Mac say anything you want using the built-in speech functionality.
$ say "You're a great developer. Keep up the good work!"You can even let it read entire text files:
$ say -f path/to/file.txtWatch Star Wars
This one is for the Star Wars fans. It is possible to watch Star Wars in the terminal. To watch Star Wars in text form you can run:
$ nc towel.blinkenlights.nl 23Enjoy the movie… uh text!
Important dates in history
You can output a list of important dates in history by using
$ cat /usr/share/calendar/calendar.history Weather
Let's say you have totally embraced the terminal life, but you want to know the weather. You don't want to leave the terminal of course. Well you're in luck since you can use the following command to get the weather in Amsterdam for example:
$ curl wttr.in/AmsterdamOther cities are also supported.